
Connect Your Stripe Account
Step-by-step guide on how to get your Stripe account connected
Step 1 Creating A Restricted Access Key
When you first enter your account, you will be presented with your Dashboard. Click the Developers button in the top navigation menu.

Once you are in the Developers section click the API Keys tab. Here you will see all the API keys for your third party services.
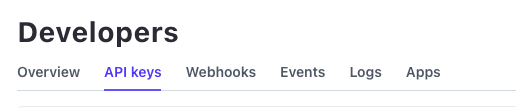
Next you will need to create a Restricted Key. This is a variantion of your Secret Key but it wil allow you to restrict access for the API Key.

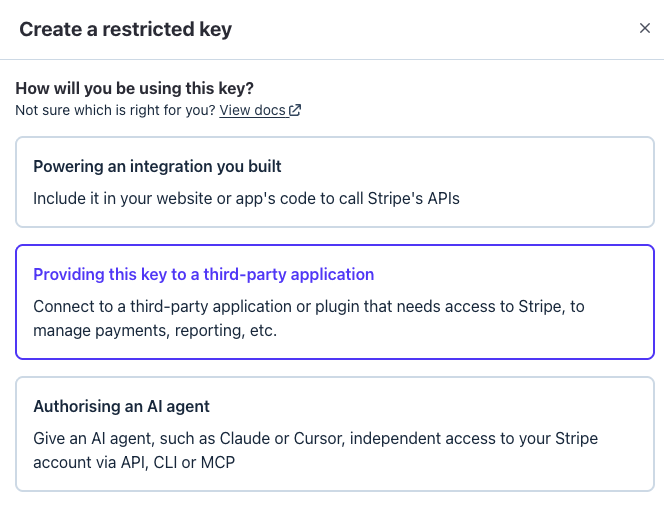
Once you are presented with the Restricted Key splash screen, you will need to choose the option below. This will let Stripe know you are giving control to Shoppy Monkey to facilitate payments on your store.
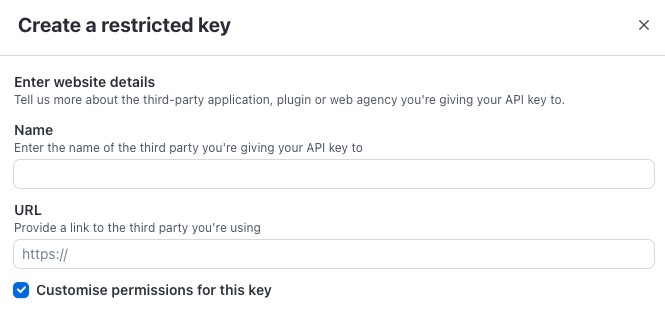
Here you are going to share with Stripe your Shoppy Monkey internal store. This will look like xxxx-xxxx-xxxx-xxxx.shoppymonkey.com.
Below are all the permissions that Shoppy Monkey requires to complete your account setup. Intents, Methods, Sessions, Links. Each will serve a different function in the journey up-until a customer checkout.




Step 2 Connect Apple Pay To Your Store
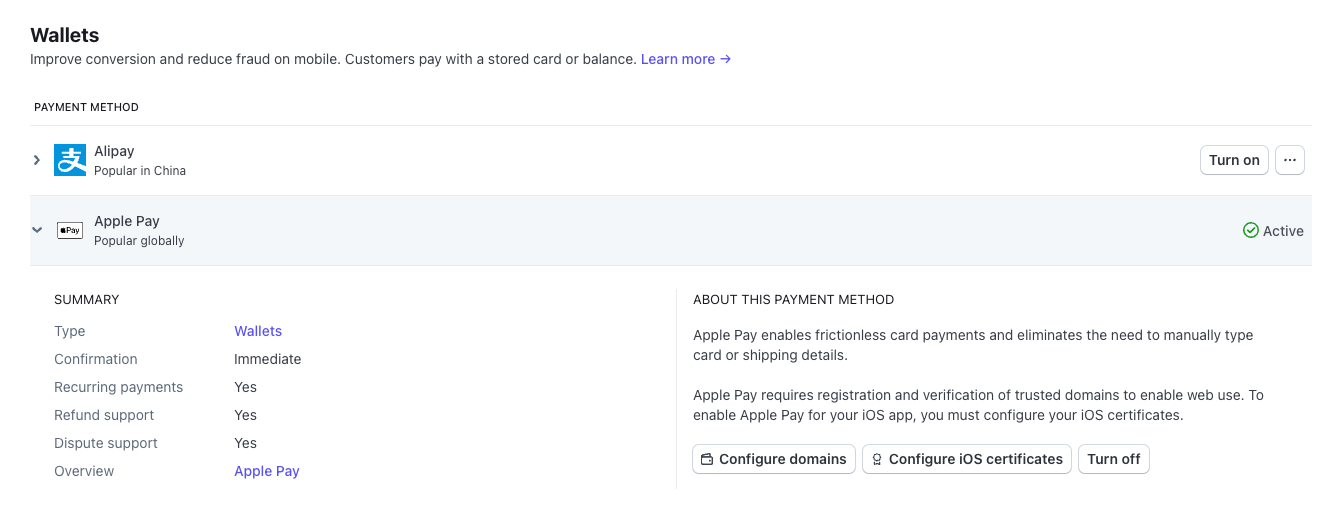
Navigate to the Payments settings and choose the tab labelled Payment Methods. Here you will find all your available methods available to your account; both enabled and disabled.
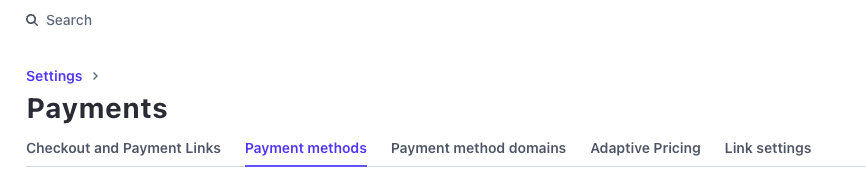
Scroll down to the section labelled Wallets and you will find Apple Pay.
Click Add A New Domain.
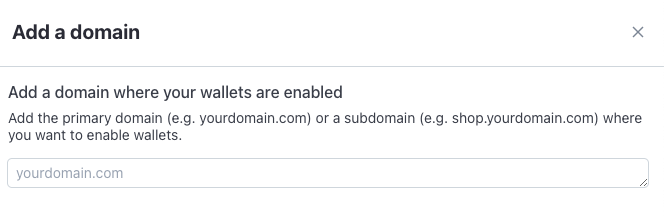
Now you will need to give Stripe your store URL. e.g. www.shoppymonkey.com.
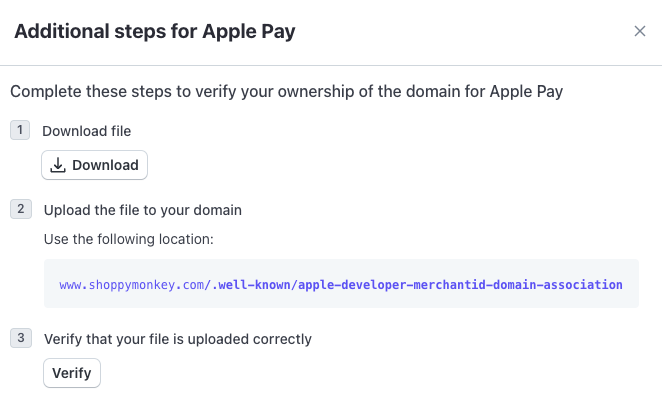
Stripe will use the previous store domain to look for their verification file hosted on your store. This file is automatically added to your store so you don't need to do any work here. Simply hit the verify button. Stripe will identify this file and you will be verified.
Step 3 Connect Your Account To Shoppy Monkey
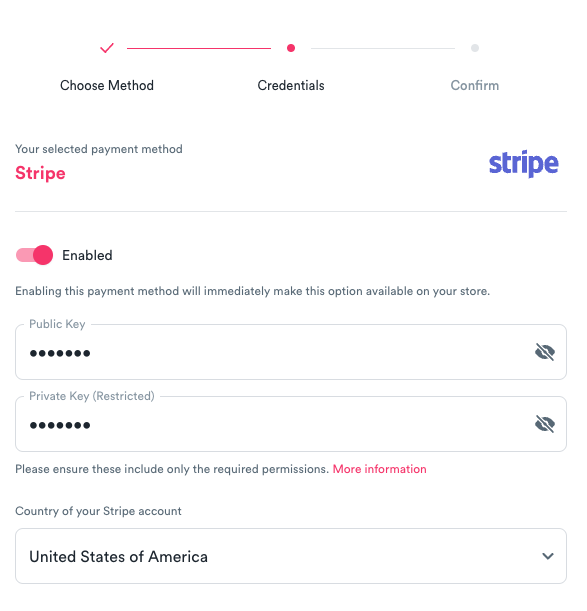
Now that you have your API Key and your Apple Pay is configured, you are ready to connect your account to Shoppy Monkey. Once you are logged into you are account go to Settings, choose a new Payment Method and select Stripe.
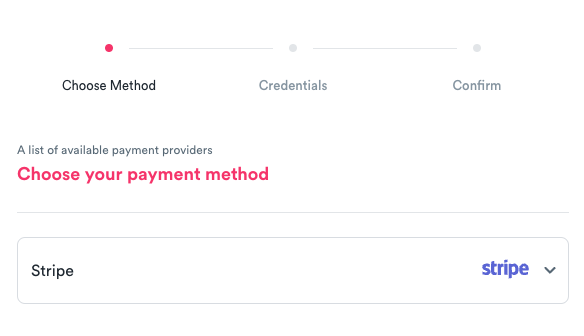
Click next and enter your credentials from the steps above.
Shoppy Monkey
Resources
Support